Thursday 15 January 2015

14. Final submition


Well here we are at the end of the project and I'm done. following the 7th and final tutorial before deadline, and after some feedback on areas of improvements I went to work to apply the suggested improvements.

So here is the final substitution for my project, before the hand drawn version of the last video only lasted 5 seconds and stopped dead. (Feedback Note 1: make her react to the falling items) so I re opened the animation, deleted the last second and re animated her reacting to the items dropping in the room, in addition as a bonus I wanted to make her pick up the ball that falls next to her, but since I was still masking and editing by 3Am (this morning) I didn't want to risk Masking them last 3 seconds, so i had to remove it. how ever 7 seconds out of 10 were used.


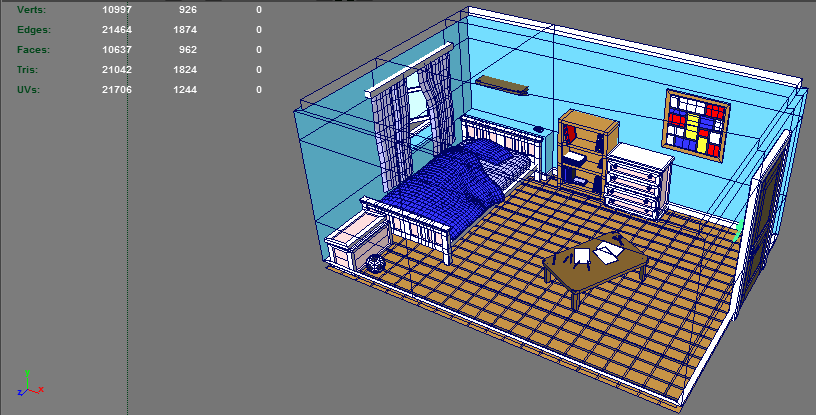
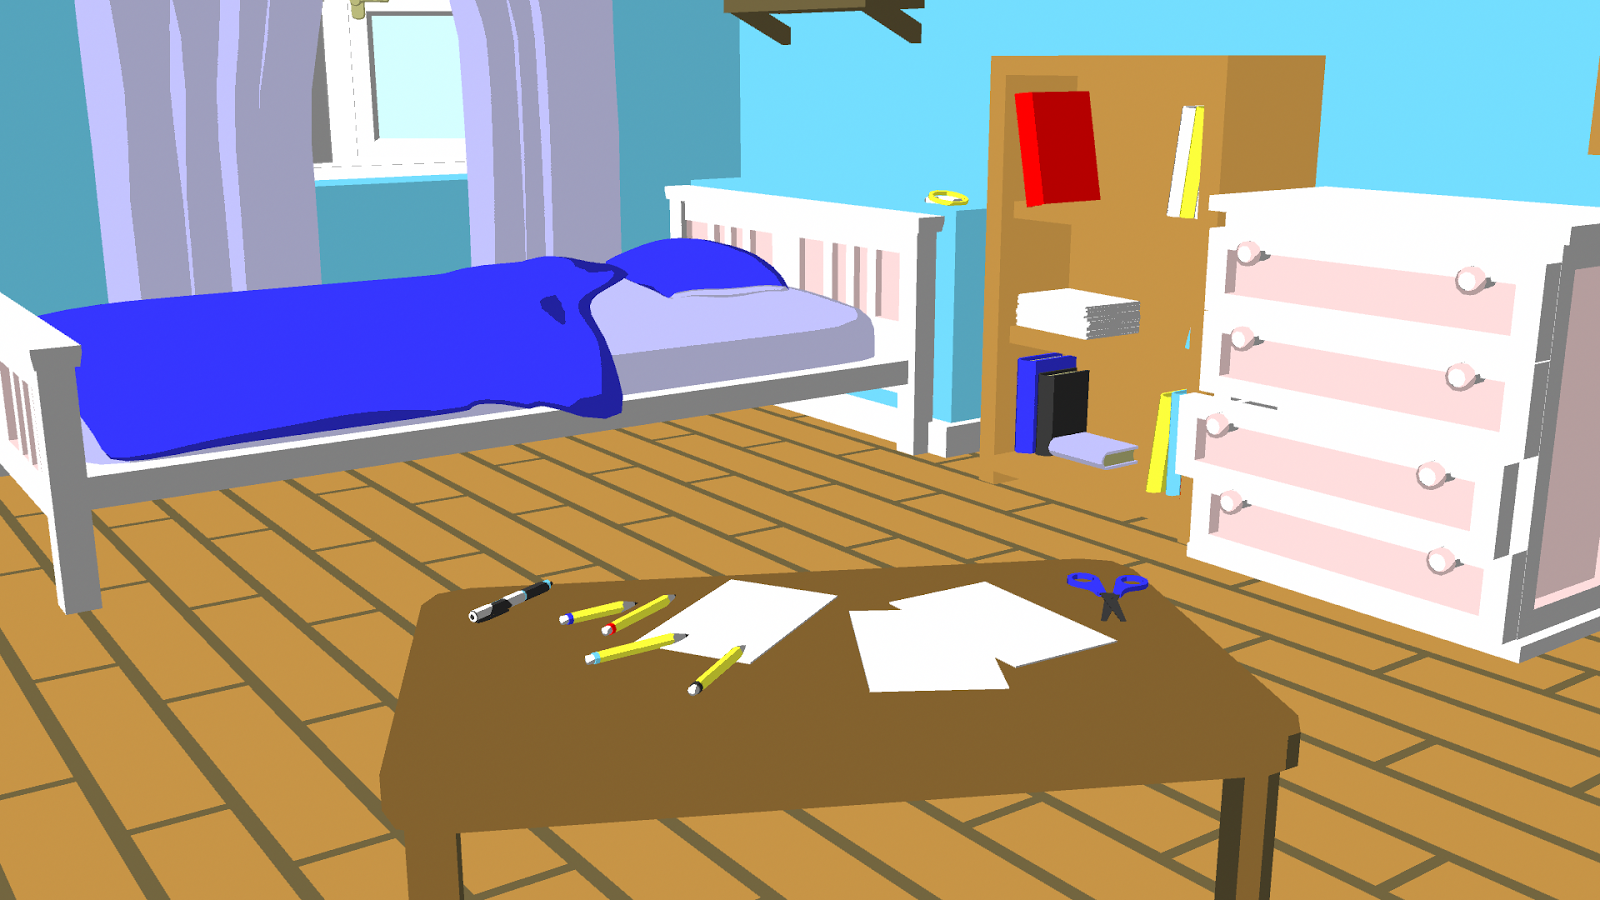
Additional suggestions were to try and clean up the breakdown area of the video, where I show the hand-drawn version on its own sheets (Feedback Note2: Clean up the crap around the edges and re-scan the images) sadly however clean up was harder then expected, cleaning the scanner did help, but the paper used was a few inches bigger then my scanner so some was over lapping, making the top area darker.  in addition the fist 30 frames were creased by my own had (holding the paper) and I never got around to re drawing the first 30 frames since i was too busy re drawing/Adding Frames 40-120.

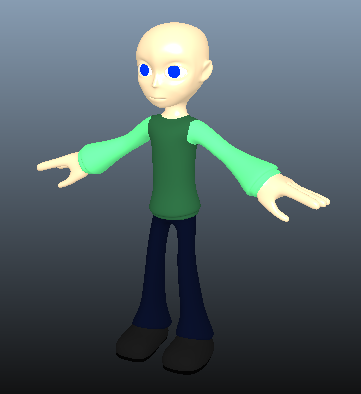
So this is my final peace, I'm pleased about its outcome, more so then the other video. and cant wait to explain on this method of combining 2d and 3d assets, and a fun note, one of the suggestions I was given by my tutor was make the transition between 3d character 2d character happen in a snap as she sneezed. make me think, instead of doing a full animation making the character 2d, I could make it like a "power" of sorts,,, that the character can willingly/un-willingly changed from 3d to 2d and back, would be an interesting mechanic don't you thing?

and finally, the re editing Time taken,
            Re  hand drawing: 1 days
                    Re Scanning: 2 hour (200dpi)
                   Re  Masking: 1 days 
                      Re  Editing: 3 hours

13, final video 1.0


The end result is far from my original idea for the animation,,, it started off being a collection of animating tests.. To a 1 minute animation,, then that was cut to 30 seconds and now I was left with a 5 second clip (and a few tests). So just so I have something that closer to 1 minute, so I edited the video to show the 5 second clip at the start, then show a break down and compositing of the effect, showing the process I took to make the Hybrid Animation.
The end part shows the all the redners, from 3d, to toon shaded and finally the drawn version all connected into a single animation starting with the the toon background and toon Mika, and ending with the Toon background and Hybrid Character.

Even though it's not what I originally wanted to do, I am still pleased with the outcome, and it HAS given me an in-site to the time it takes.. speaking of.


Time taken,
    Character modelling: 35+ days (re edits and fixes
Environment modelling: 4 days
              hand drawing: 1 days
                     Scanning: 1 hour (200dpi)
                     Masking: 2 days 3 hours
                        Editing: 3 hours

12, Editing with After Effects


At the start of this project I never thought I would have to touch Adobe After Effects again. but I was wrong, the project idea, mixing 2D and 3D assists together would need some degree of compositing and masking. And even thou it was time consuming and mind numbingly boring, it was rewarding to see something that was one on a piece of paper to finally be inside a 3D environment.

The animation is 10 seconds long, and as you can see below I got to about 6 second before i was ready to throw my hands in the air and say "that's it, I quit I'm done". but I refused and tried to get a few extra seconds (since it was getting on to be 10:40 Pm, day before the deadline). in the end i managed to Mask 7 seconds and 8 frames.


As you can see above, i had to do ALOT of key framing, and even then some parts ended up with weird artifices and errors, probably not the best mothered of masking ever seen, but since in parts the character moved quite a bit, (lifting her arms,moving, and of course her hair). this meant I had a lot of extra points when she moved and said points weren't needed, so I just made a couple of extra blanks (Black, yellow and Light green) to house the extra points for later use, this meant I could speed up the masking a little since i didn't have to move points that weren't gonna make any effect. As a bonus since i was working in 12 Frames per seconds (each frame doubled). i didn't have to worry about odd blending between points.

Finally, i am pleased with the outcome and enjoyed masking, re visiting After Effects was confiding at start but then it became rather simple and at about you just need to go into "auto-pilot"

11. change of plans again


Previously I intended to cheat the hybrid section by using some editing programs to replicate a drawn effect (example: “Filter>artistic>Cartoon”)
this would place a free hand drawn effect around any lines found (much like the effect used in TellTails the Walking Dead game).


But this little cheat would take away the whole point of it being a hybrid animation. for hybrid something needs to be traditionally drawn,, if is't just cheated with a computer it’s still digital animation,,


So after a quick chat it with the idea of rendering the character (using stage 3, no coloured outlined version), after the render was complete (120 frames at 24 frames per second) I used Animation paper  and placed it over the screen and started to trace the renders staring at frame 1 and tracing ever 2nd frame (1,3,5,7,9..you get the idea).from there I now had a traditionally drawn animation that should run at 12 frames per second to give it the extra hand drawn feel.


10, Academic Poster


Fig 1
As one of the deliverables we were told to make an academic poster that demonstrated the process we took to get to the half way point and what were we looking at. this was my 1st variant of the poster I made, using some renders and a placeholder [fig1] and was later changed and replaced with better example. Following the crit where we had the posters viewed by our pears we were asked to do some changed based on the feedback. My feedback mianly required me to shorten the text and remove the two background images since they were making the text hard to read. So this is my final poster. [fig2]


Fig2
 I went for a safe design, splitting the poster into several areas and having the text housed in each part, having the centre panned for the practical visual renders and a small explanation of their renders.

09 blend shapes and Spline IK


This project would allow me to practice something that might be helpful, blend shapes so ‘mika’ can perform facial expressions, being simple blink and mouth open close. At 1st I just made a few blandshapes on improvisation, some blinks, some eyebrow movement and some faces,, but these didn’t feel right, and were limited. So I created my own little Blend shape guide bored [fig1] from here I was able to create a selection of faeces for ‘mika’ including variants of blinks (happy blink, angry blink) as well as the much needed A,E,I,O,U for some lip syncing if I ever need it


A cool little addon but not 100% needed was the use of IK splines, why did I need this? Well ‘mika’ is wearing a string tied hoody, and what hoody is complete without,,, well ‘them annoying bits if useless string that hits you in the face’ so I added some, but I was struggling to work out how they worked, how it should be added to the rig,, am I meant to parent the Toggles to the Clavicles, or spine?.. only one way to find out, save the file an break the rig. And break I did, several times infact and a few times I didn’t notice and accidentally saved over the file,,,yeah..the IK splines and BlendShapes can really break the rig/model of your not carful


8 Design touch up


Design touch ups. considering the final animation will me more focused on more traditional animation the 3d models colour isn't really important. but its still nice to have. in any case she has two texture maps, one with bace colour and added black in liners for details like the folds in her hood and shoes (fig1) and the stipe patton in on her arm (fig 2) and the 2nd texture is coloured. Fig 2 is a test to see how well the Toon shaders and Toon outline works as the Character moves.


Fig 1
Fig 3


below is is a demonstarion of her toon process. taking a 3d model and testing three diffrent types of toon. as yo can see below the 2nd test is a more styalised and flat toon effect, but it loses alot of form and shape since it blends into itself. the 3rd one looks better but its still clearly a 3d model..and with the final image the outliner is added and even tho it still maintains some of its 3d look, it is closer to a 2d model then the others.


Stage1                   Stage2                     Stage3                    Stage4
Fig 3 is the final design of Mika (the black shader will be reduced) her hair hood and sting toggles are rigged for extra motion and freedom. in addition they was another small detail added at the end for a bit of uniqeness to her, her eyes have a faint 10 pointed star (a toon version of the iris)


07, Oh good god that’s ugly!


My 1st attempt at making the character (code named Mika) turned out ugly as.. [fig 1] although it was kind of a rush job to have a model ready for a quick show.

With some follow up edits..a lot of edits and changes ‘Mika’ was ready to be Rigged and textured.. the image to the left is using Toon shaded  material colours on each relevant location and and toon outline. following this stage i would Re texture her using a UV map (giving me more controle over the inner black lines) and reduse the poly count some too.


Following the creation of ‘Mika’ I was also designing her room, it had to look like a kids room but for time sake it couldn’t be too complex, I was aiming for a simple room with one wall missing (as the camera would be locked from this angle). Throughout making the room I had a basic proxy shape of Mika to serve as a size locater so her room was to scale with her (remember Mika is a kid, so we can’t have her looking like a giant in the room,,)

A few toys here and there, some books, and few ‘Easter eggs’ hidden in plain sight and finally what kids room is complete without a messy bed and some paper lying around?


Character modelling: 30 days (3-4 hours per day approx.)
Environment modelling: 4 days(2 hours per day approx.)


06, Project 'H' Character Design


With the moodbored made, the character design starts, at 1st her design  was slightly more detailed and he body, head and limbs were to scale with itself making it feel more “real” and too close to anime designed. So I needed to re design, make her more simple, and exaggerated elements of her.


Simply by increasing the head, foot and hand size and shrink the legs and arm’s length gave the character a cartoony feel. Next up was deciding the colours for her hoody. I had already set her hair as brown and eyes blue but wasn’t so sure on the colour. the taller character to inn the left image was an alternative design that was ditched since adding a shirt and undershirt removed the reason of keeping it simple.